vCloud Availability 3.0 – On-Premise Deployment & Configuration
In the first 3 parts of this series I detailed the configuration and deployment of vCAv 3.0 into a service provider site. In this 4th part I show the deployment and configuration of vCAv into a tenant on-premise infrastructure. This allows appropriately configured tenants to protect on-premise VMs to a cloud provider as well as protect cloud-hosted VMs back to their own on-premise infrastructure.
In this configuration I will use the already-configured Christchurch lab cloud environment as the endpoint and configure vCAv into an on-premise infrastructure at my test 'Tyrell' tenant environment which is configured with its own small vSphere SDDC based on vCenter, ESXi and VSAN storage. Note that NSX networking is not required in the tenant site, and only outbound tcp/443 (https) connectivity is required between the tenant and cloud provider site which makes vCAv almost trivially easy for customers to deploy into their datacenters.
The VMware documentation page for deploying vCAv at a tenant/on-premise site is available here, the process below show the configuration of the vCAv tenant appliance and configuring the appliance once deployed to connect to a cloud provider site.
Download the OnPrem version of the vCAv appliance from my.vmware.com, note that this is different from the image used to deploy a Cloud Provider site and is listed under the 'Drivers & Tools' tab in my.vmware.com:

Login to the on-premise vCenter and select the option to deploy an OVF Template, select the downloaded OnPrem appliance:
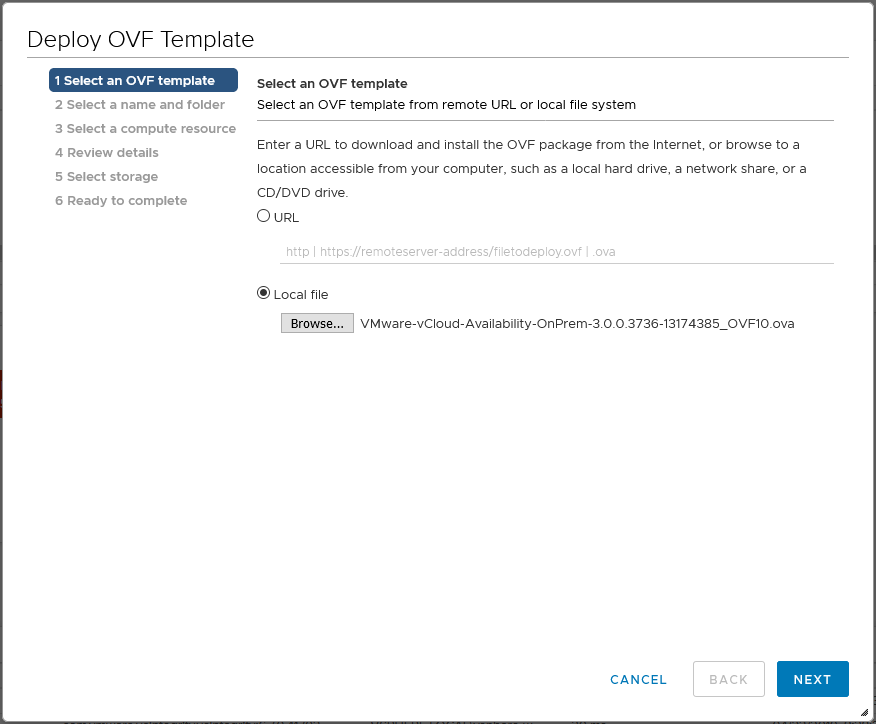
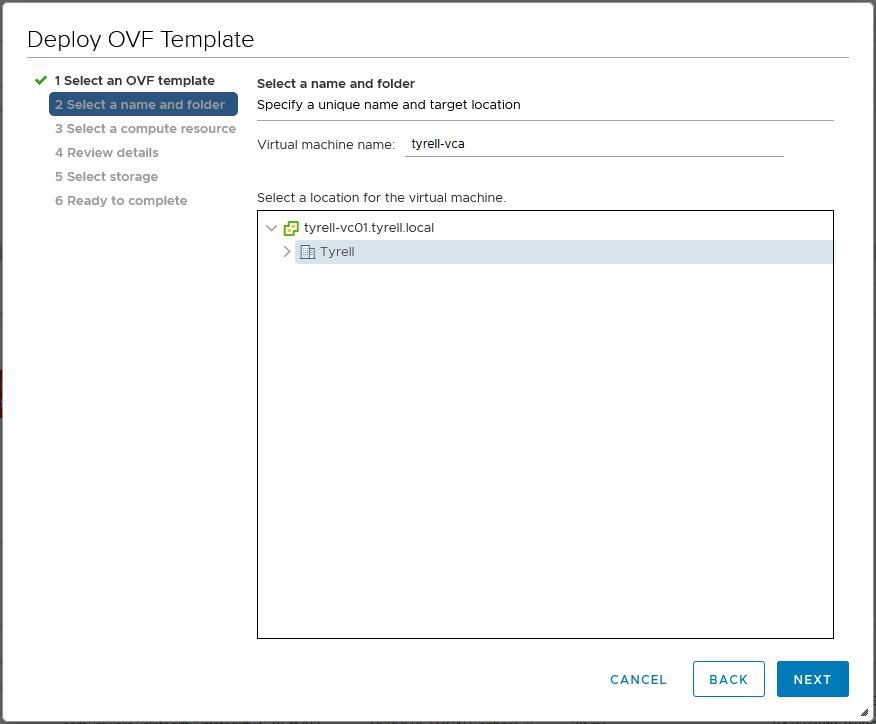
Specify the VM name to be assigned to the vCAv OnPrem appliance and select the datacenter where it will be deployed:
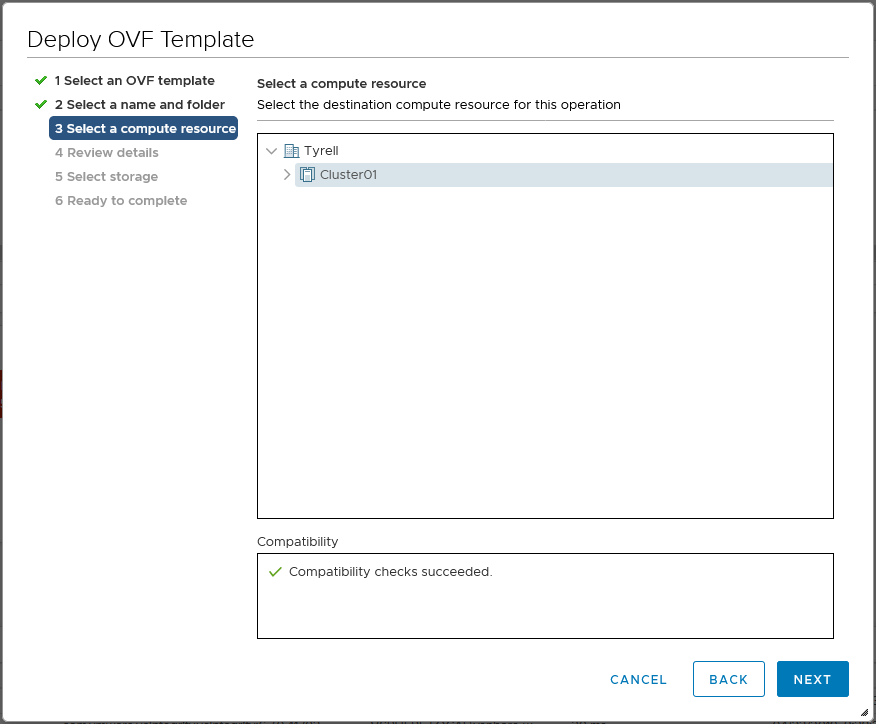
Next select the vSphere cluster where the vCAv appliance will run:
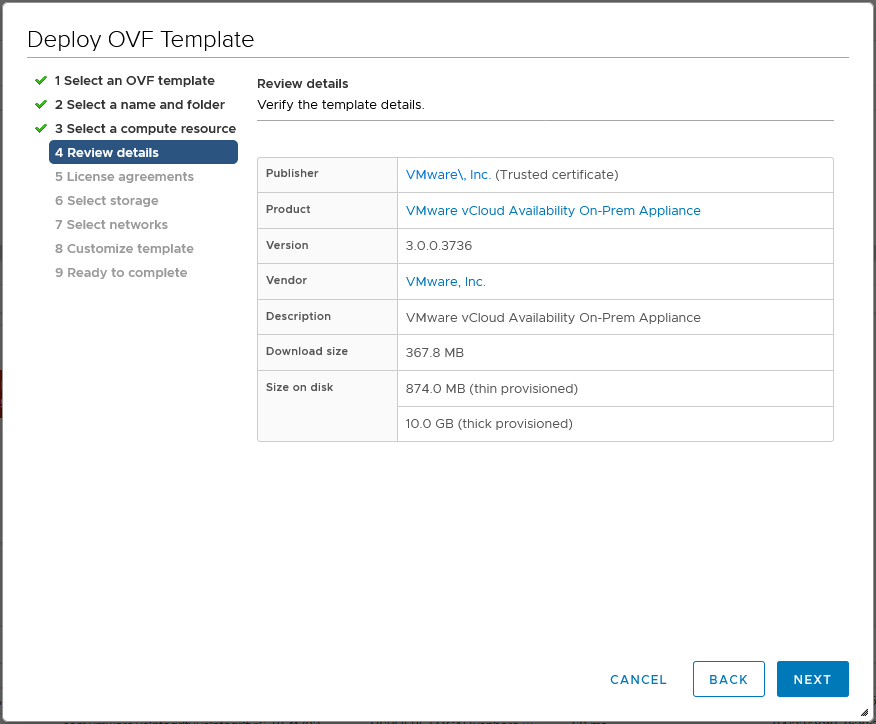
The next screen allows you to review the template details prior to deployment:
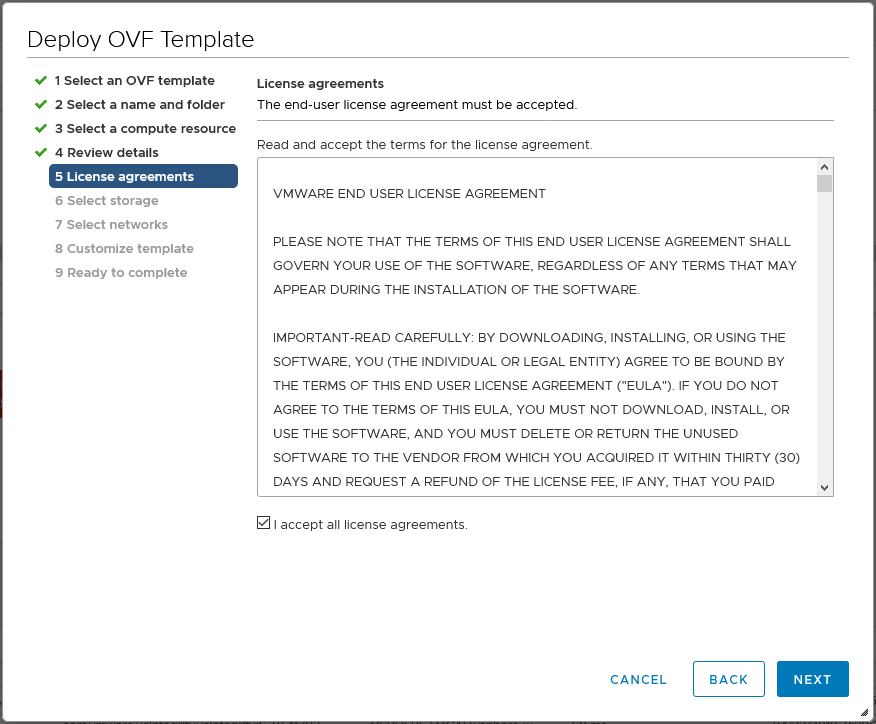
You must agree to the VMware EULA agreement before proceeding:
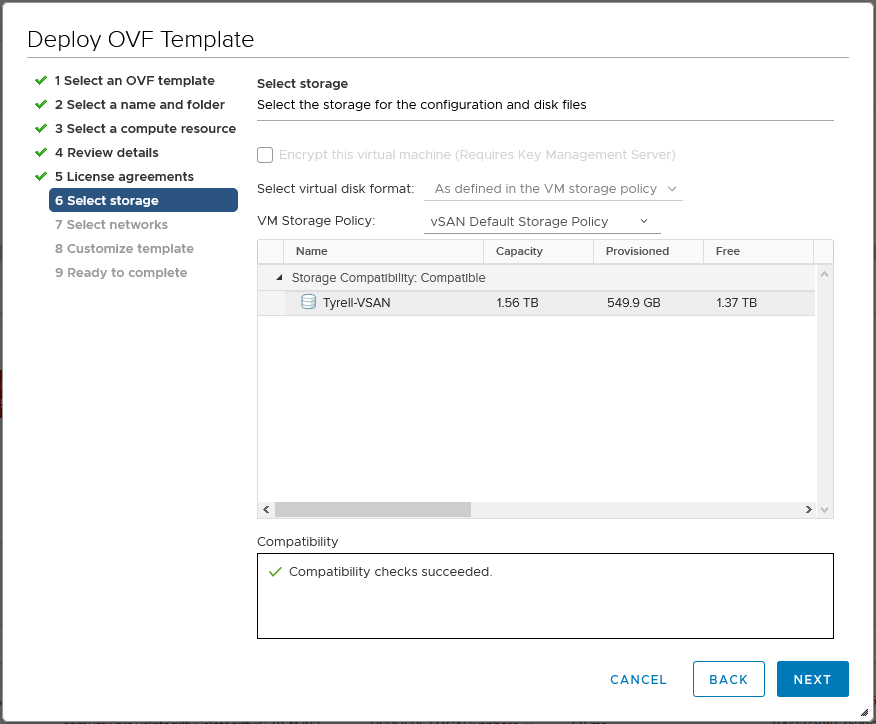
Chose the datastore and storage policy for the vCAv OnPrem appliance deployment (in this example I only have a single VSAN datastore to select from):
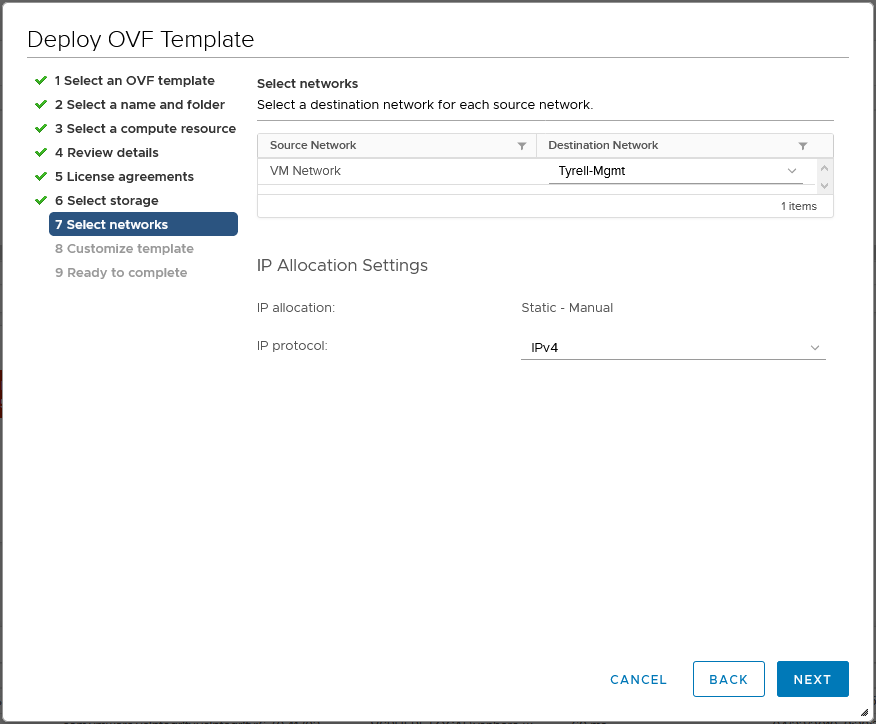
Select the network for the vCAv appliance to connect on and the IP assignment type:
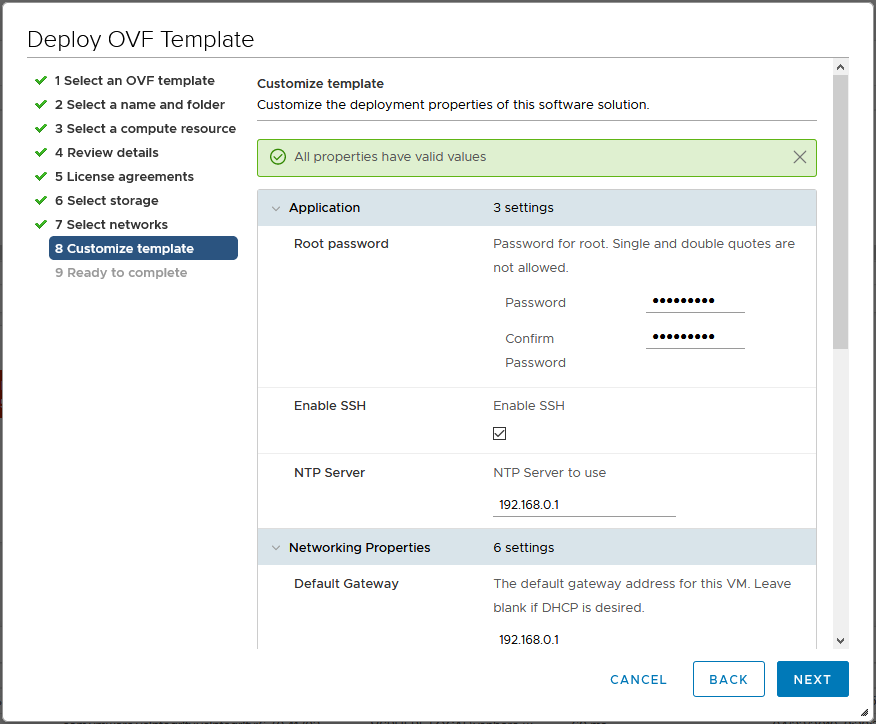
Assign the initial 'root' user password (as with the Cloud appliance, this will be forced to change on first login to the appliance UI) and configure appropriate networking settings - IP address, subnet mask, default gateway, DNS servers, DNS domain and NTP server:
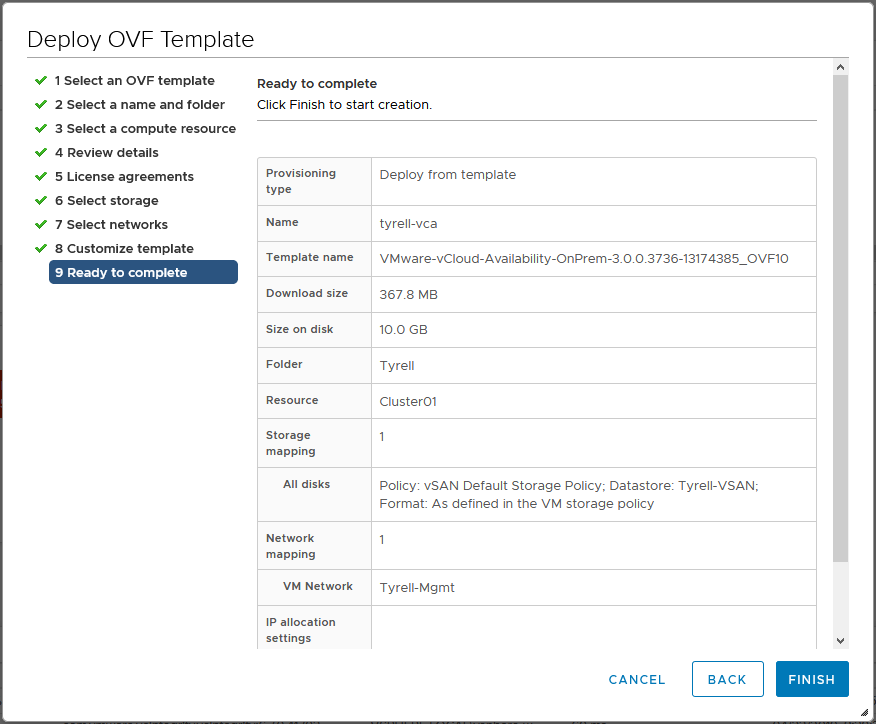
Review the summary screen and click 'Finish' to initiate the appliance deployment:
Once the appliance deployment has completed, you can power it on and access the configuration UI at https://
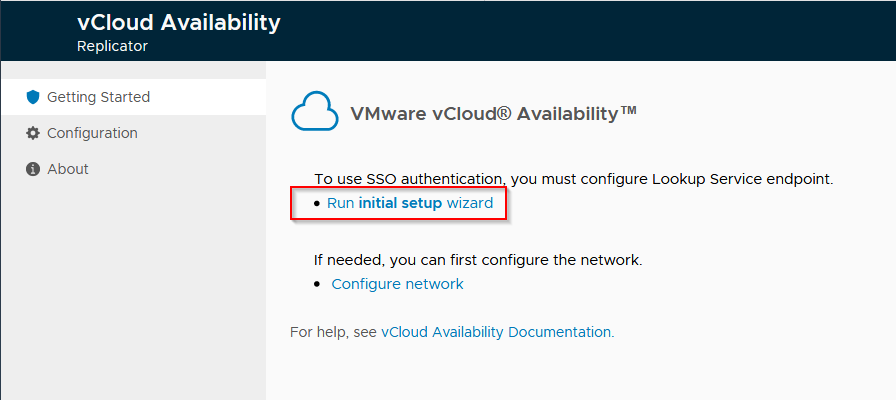
Click to run the initial setup wizard and enter a name for the on-premise site:

Enter the Lookup service address and authentication details for the local (on-prem) vCenter/PSC infrastructure (in this example I'm once again using vCenter with an embedded PSC):

Next specify the URI for the public API endpoint for the cloud-provider instance of vCloud Availability (not the vCloud Director public endpoint) and provide login credentials to the tenant organization within that cloud environment, you will need to confirm the provided SSL certificate as the connection is made.
Note: If you select the 'Allow Access from Cloud' option, then administrators in the Cloud Provider will gain capability in the local vCenter/vSphere environment - here's what the VMware documentation says on this:
“By selecting this option you allow the cloud provider and the organization administrators to execute the following operations from the vCloud Availability Portal without authenticating to the on-premises site.
- Discover on-premises workloads and replicate them to the cloud.
- Reverse existing replications to the on-premises site.
- Replicate cloud workloads to the on-premises site.
By leaving this option deselected, only users authenticated to the on-premises vCloud Availability Portal can configure new replications and existing replications cannot be reversed from the vCloud Availability Portal.”
Make sure you understand the implications of selecting this option (or not selecting this option) when configuring the appliance and set it appropriately. In my lab environment I enabled the setting.

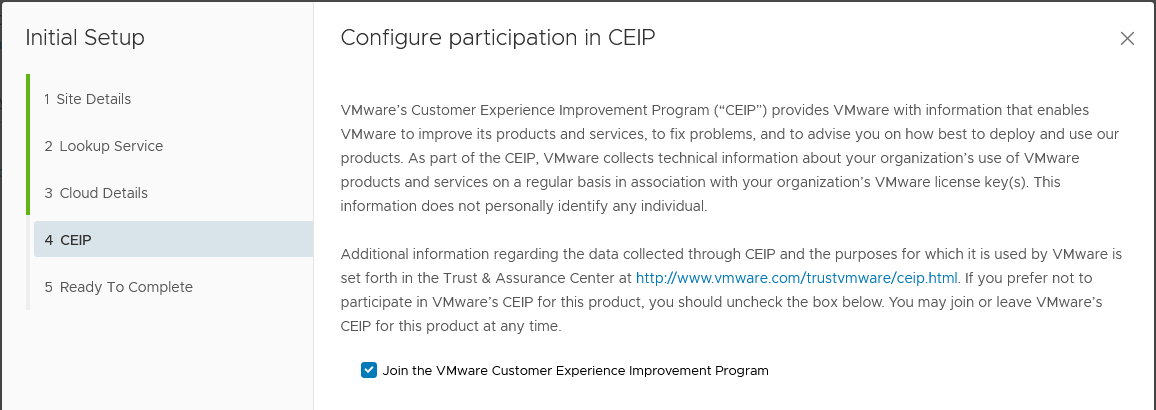
Confirm / deny participation in VMware CEIP in the next screen:
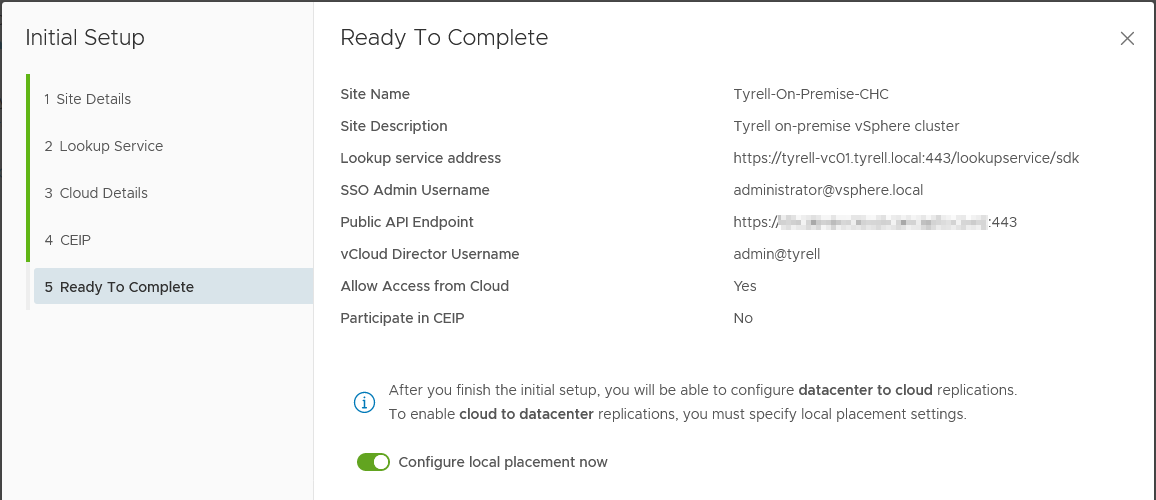
In the confirmation screen, you can use the slider to continue to the 'Configure local placement' dialogs on completion of the initial OnPrem appliance configuration. If you chose you can complete this process separately later, but in this example I chose to continue and configure local VM placement immediately:
The placement configuration allows you to select the environment that will be used by VMs replicated from the cloud to the OnPrem environment, in the first screen select the VM folder destination where the VMs will appear:

Next select the compute cluster where the VMs will be registered:

Next select the default network to which the replicated VMs will be attached:

Select the vSphere Datastore where the replicated VM disks will be stored:

Finally review the supplied details and complete the placement configuration:

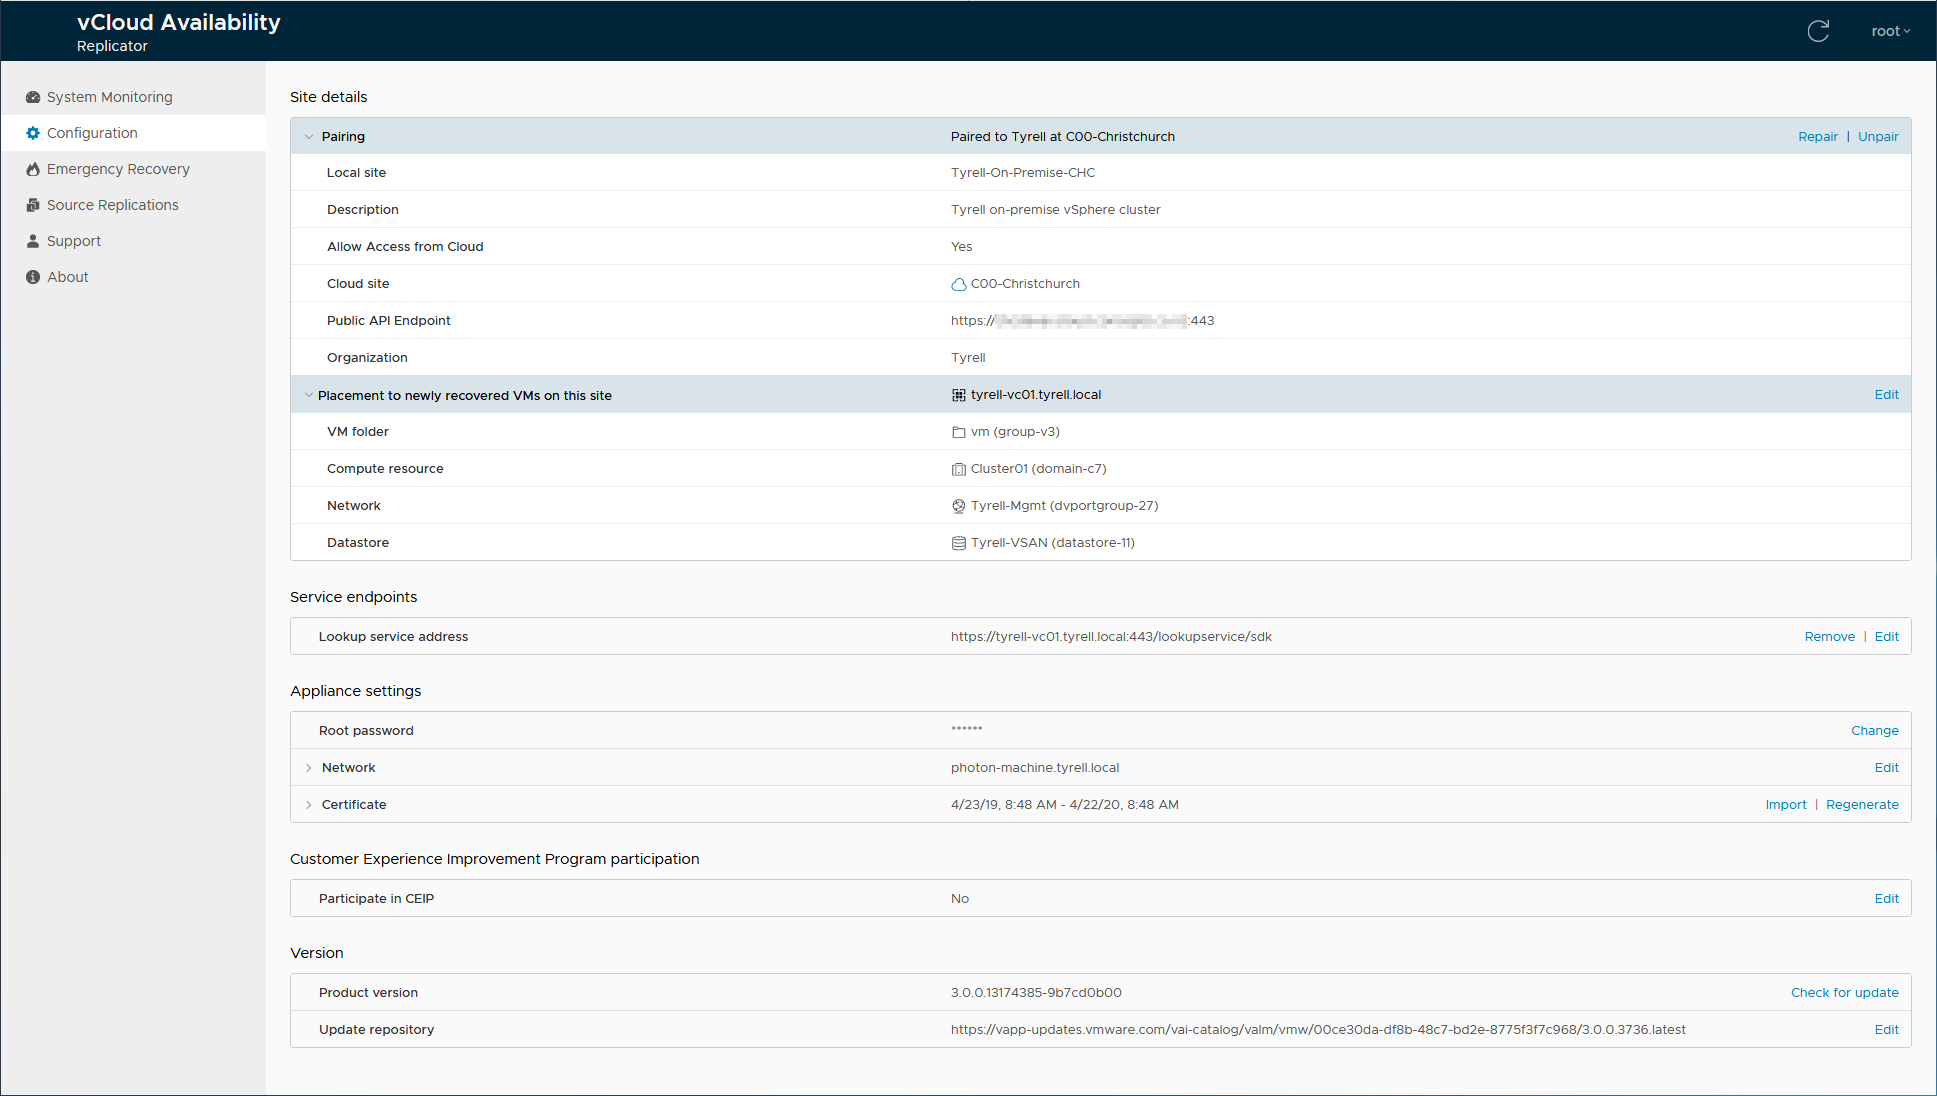
The 'Configuration' tab in the appliance should now show the configured values as shown below:
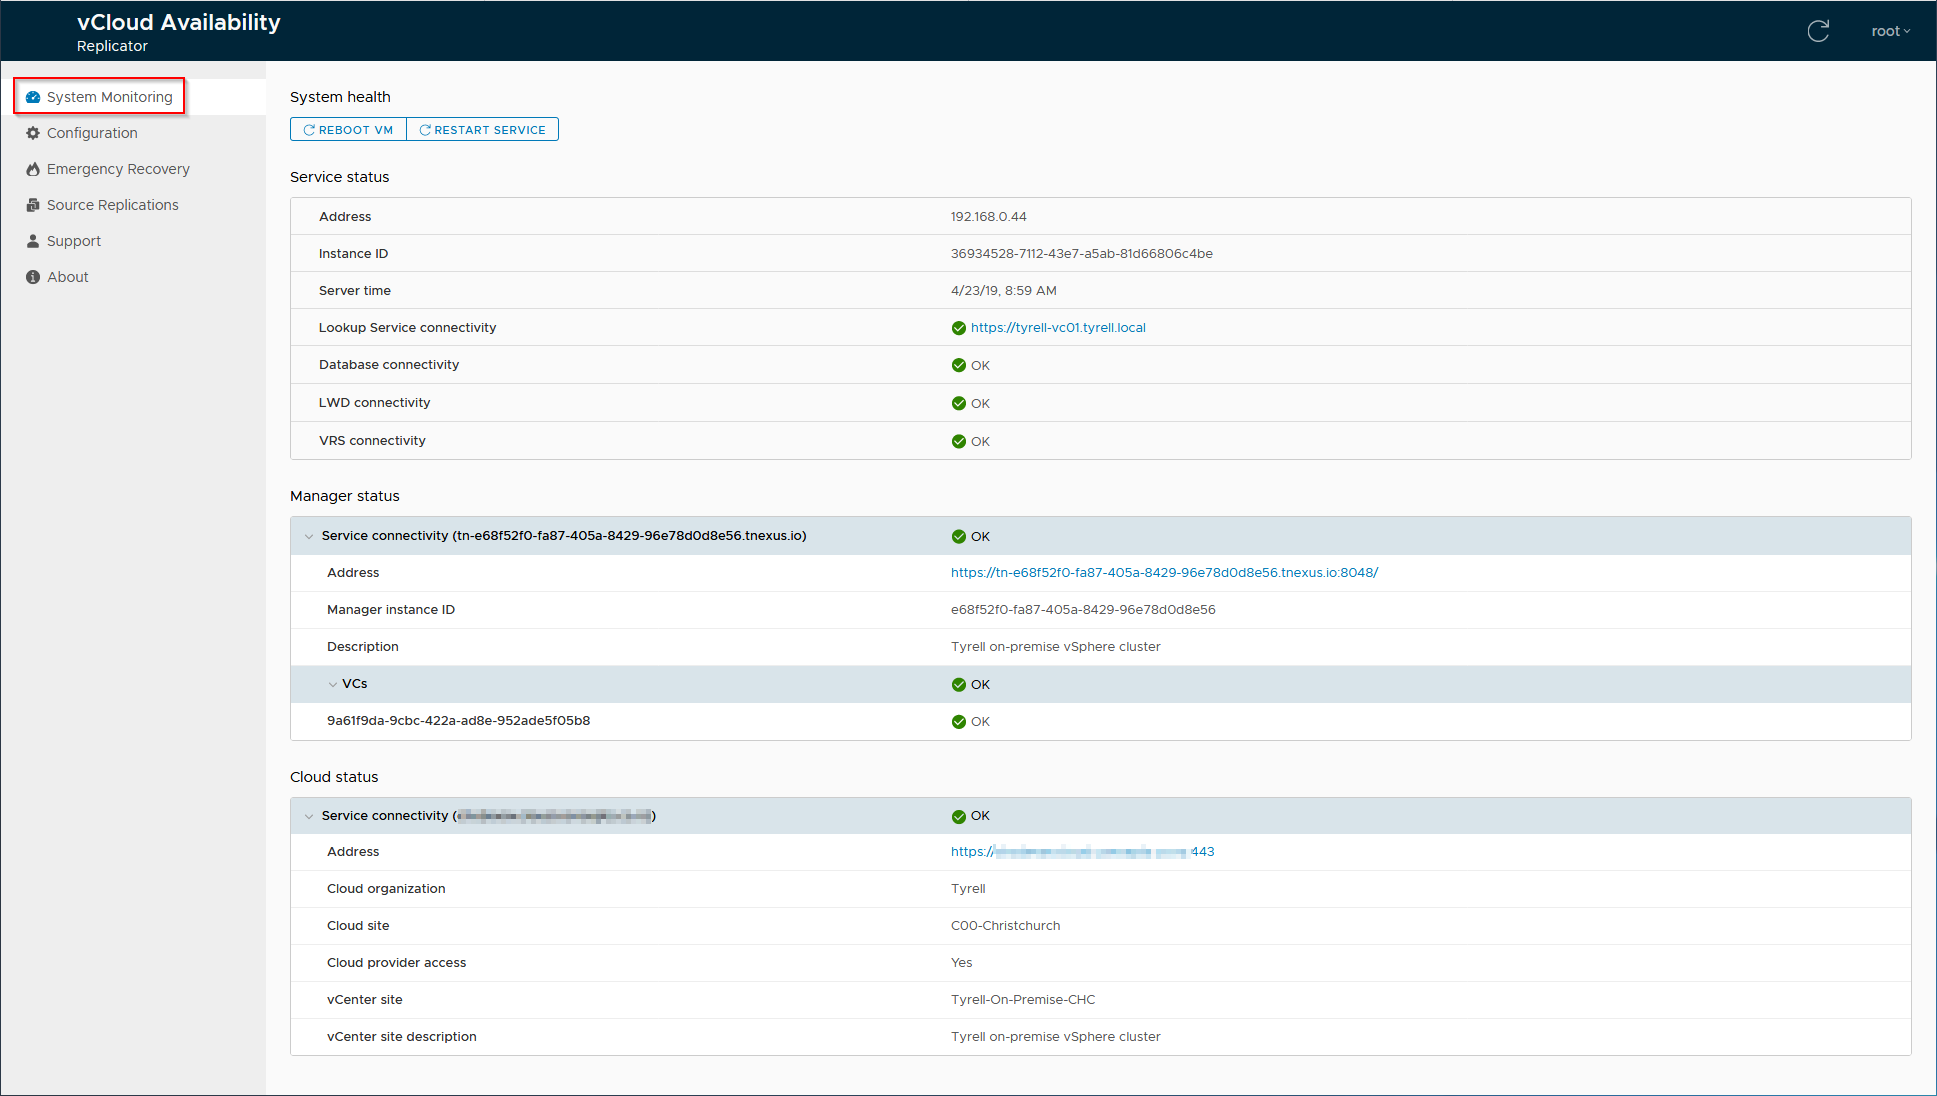
Clicking the 'System Monitoring' tab should show connectivity to all services and to the remove Service Provider cloud:
Signing into the local vCenter environment should now display the banner (shown below) as the vCAv plugin is registered into the local vCenter:

Clicking the 'Refresh Browser' button and going to the 'Home' link in vCenter will now show a new menu entry for vCloud Availability:
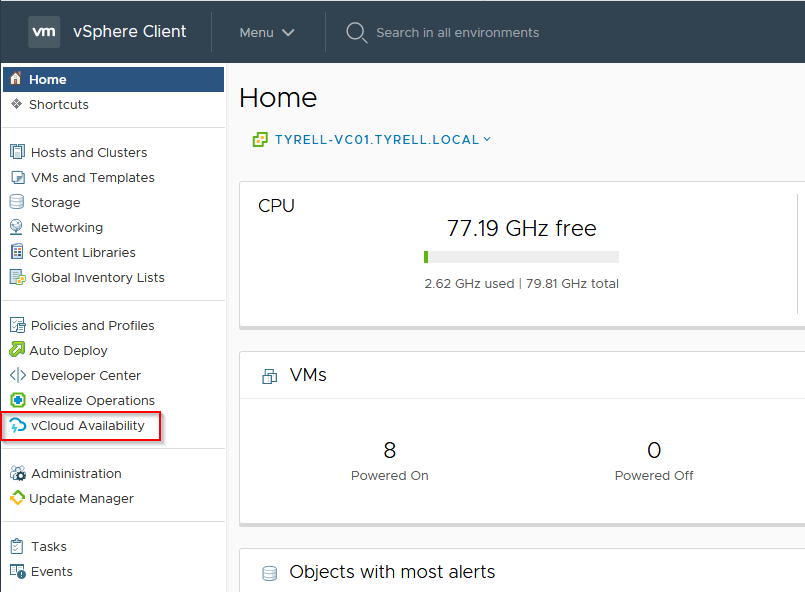
Selecting the 'vCloud Availability' link in vCenter will open a new panel showing the vCloud Availability interface:
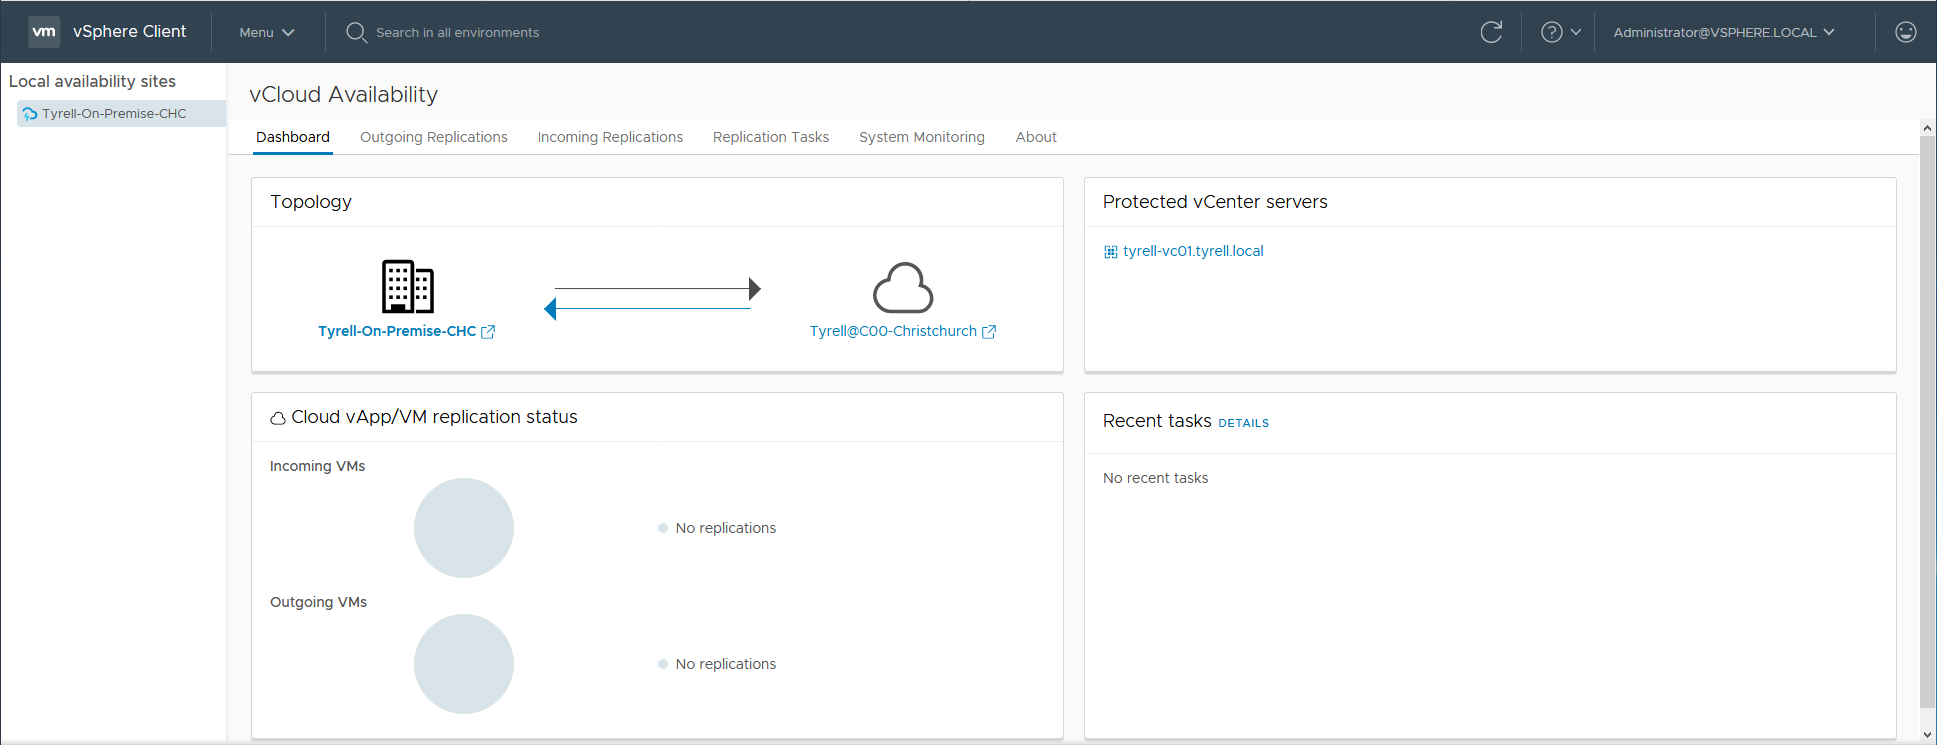
That completes the configuration of an on-premise connection to vCloud Availability - at this point we can now replicate VMs both to and from the Cloud Service Provider infrastructure to our own vSphere cluster. Although there are quite a few steps in the process, I hope you can see that the configuration of the OnPrem appliance is actually very straightforward and easy. A particular advantage compared to previous deployments with other products such as vCloud Availability and vCloud Extender is that no inbound firewall or NAT rules are required in the vCAv OnPrem configuration with v3.0.
This concludes the 4th part of this series looking at vCloud Availability 3.0, in the next part of the series now that we have both Cloud-to-Cloud (Parts 2 & 3) and OnPrem-to-Cloud (this part) configurations completed I'll look at configuring VM replication protection and failover/migration of replicated VMs.
As always, corrections, comments and feedback welcome!
Jon