vCloud Director Extender – Part 3 – Tenant Setup
In part 1 and part 2 of this series I detailed an overview of VMware vCloud Director Extender (CX) and the configuration from a Service Provider perspective to configure their platform to support CX.
This third article in the series details the configuration steps required for a tenant/customer environment to deploy and configure CX into their environment.
Once a service provider configuration is complete, any customers of that provider with sufficient allocated resources in a Virtual Datacenter (VDC) can configure the tenant CX environment and connect this to their vCenter environment. Once complete they will be able to migrate and replicate vSphere VMs between their own vCenter and the service provider datacenter extremely easily. Optionally they can use L2VPN functionality to stretch their networks into the Cloud Provider's datacenter removing the requirement to have a pre-configured network in place. Of course many customers will wish to move to dedicated networking later, but having the initial ability to quickly provision their networks into a Cloud provider can dramatically shorten migration timeframes.
The initial deployment steps for customers deploying CX are exactly the same as for a Service Provider - download (or have provided to them by their Cloud Provider) the ova appliance for vCloud Director Extender and deploy this into their vCenter environment.
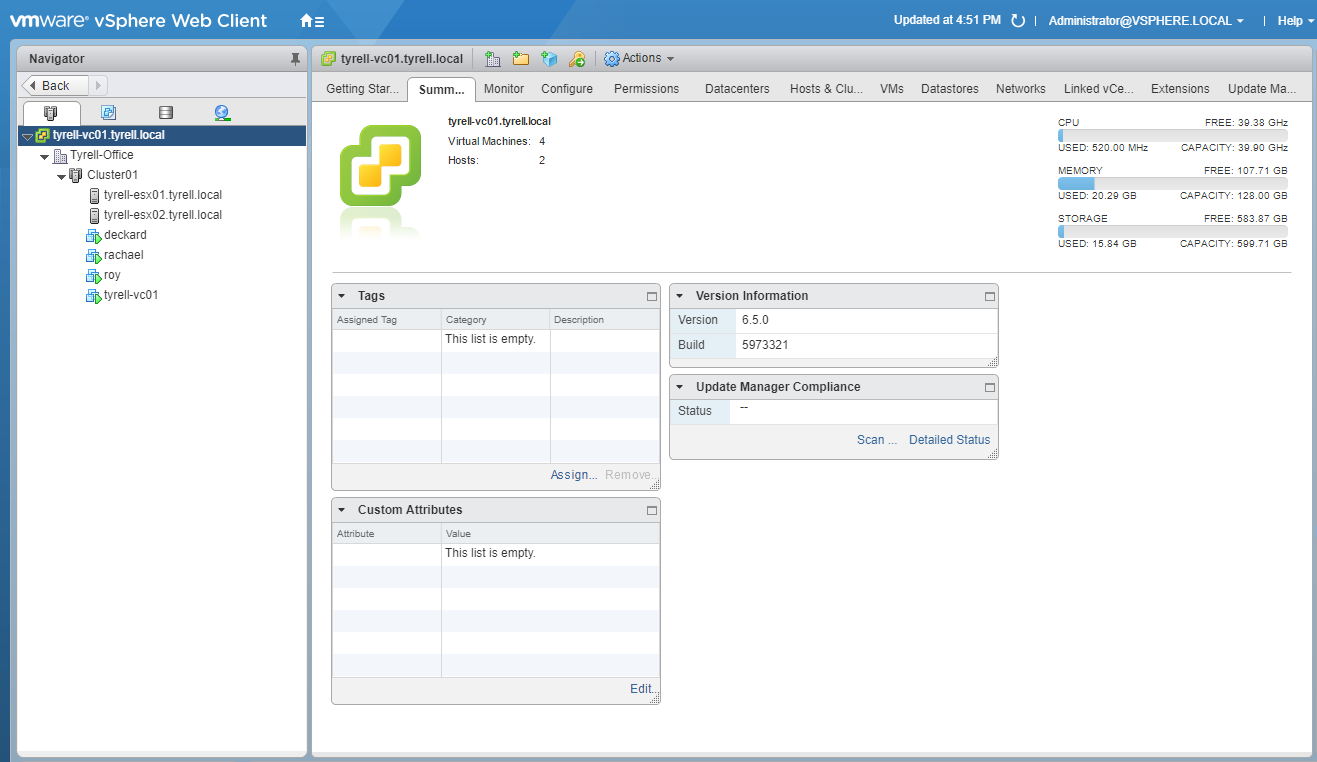
Right-clicking on the desired location and selecting 'Deploy OVF Template…' allows the local CX .ova file to be selected
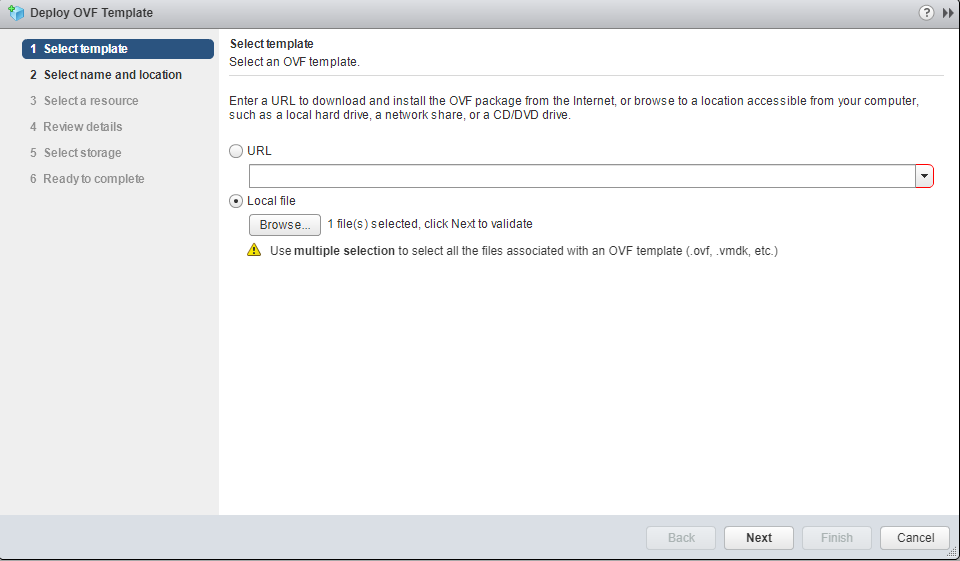
The appliance name and folder are selected next:
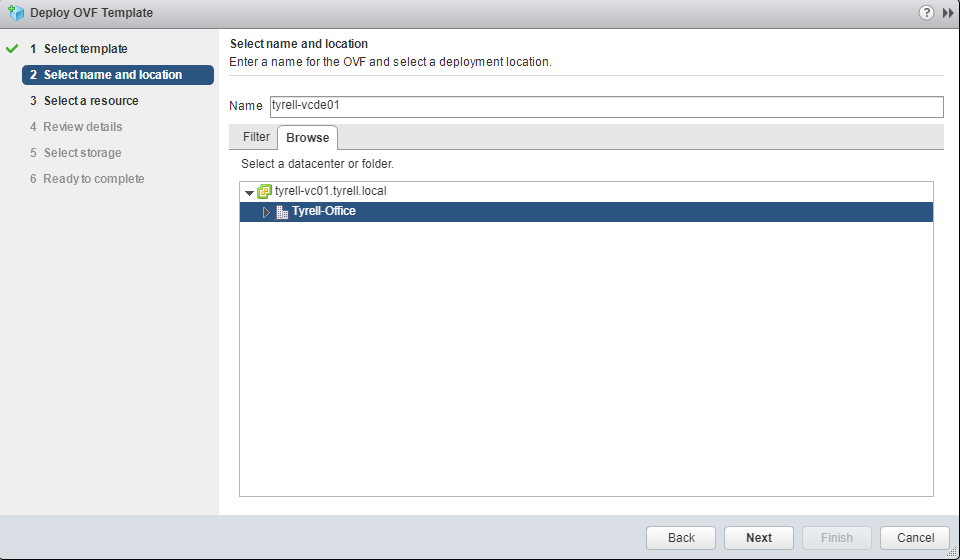
Followed by the vCenter Cluster which will run the deployed appliance:
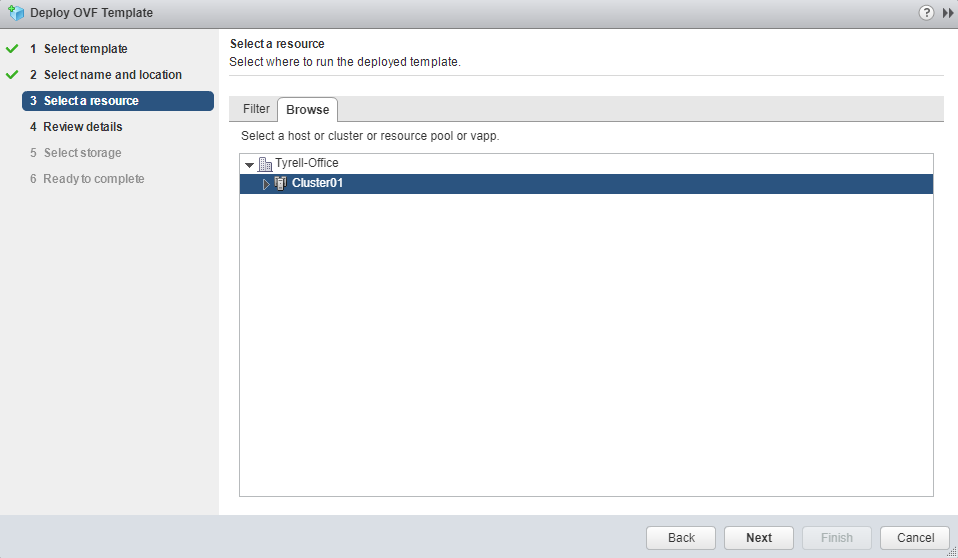
Check the template details and then click 'Next' to continue:
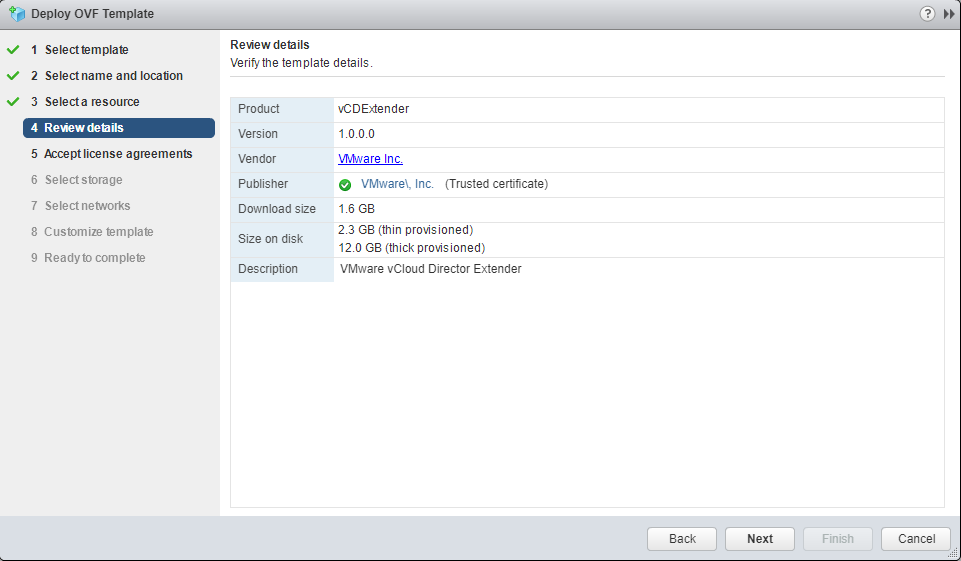
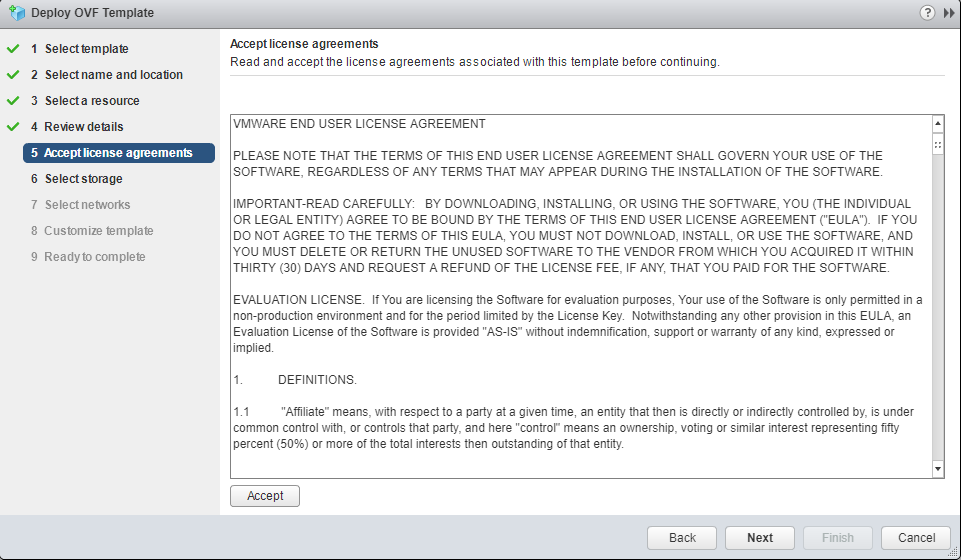
Read and accept the VMware license agreement:
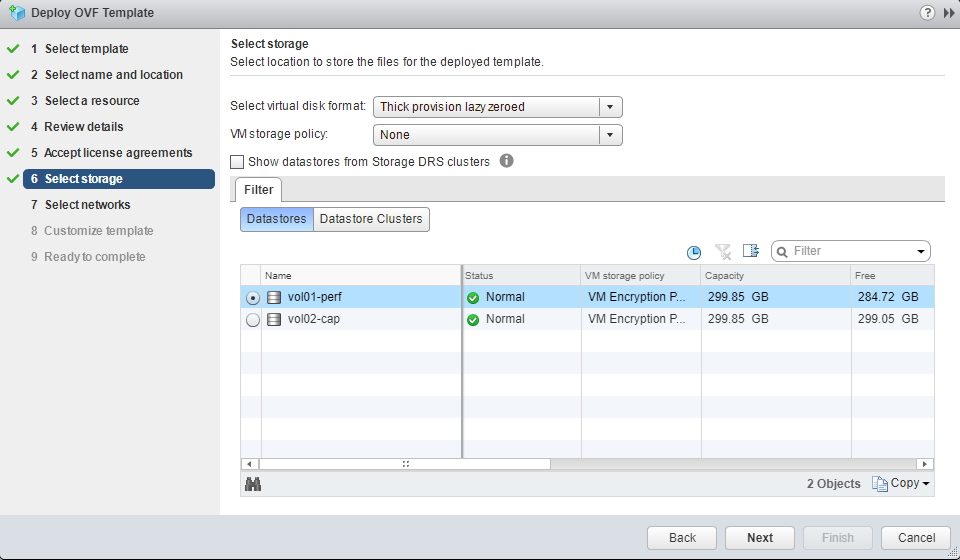
Next select the Datastore storage on which the appliance will be deployed:
Select the required network for the appliance:

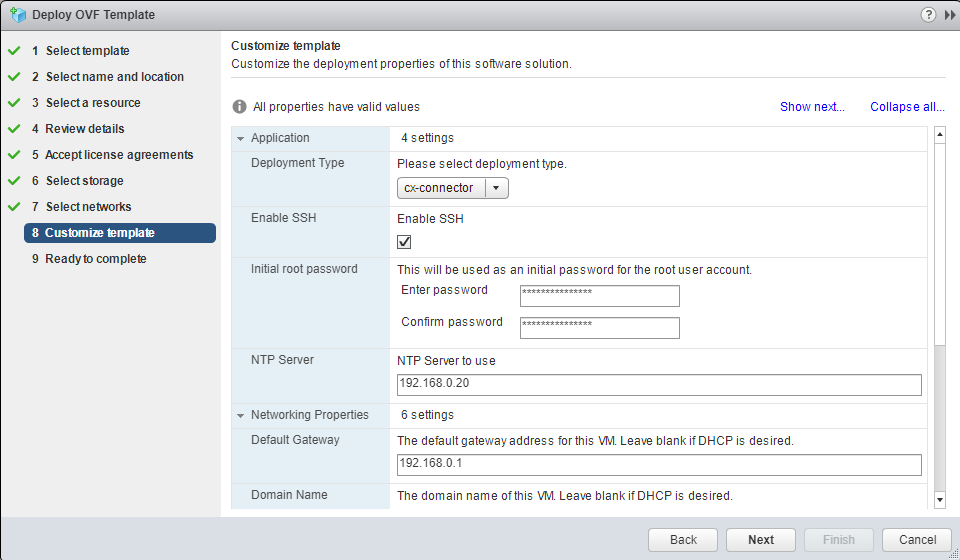
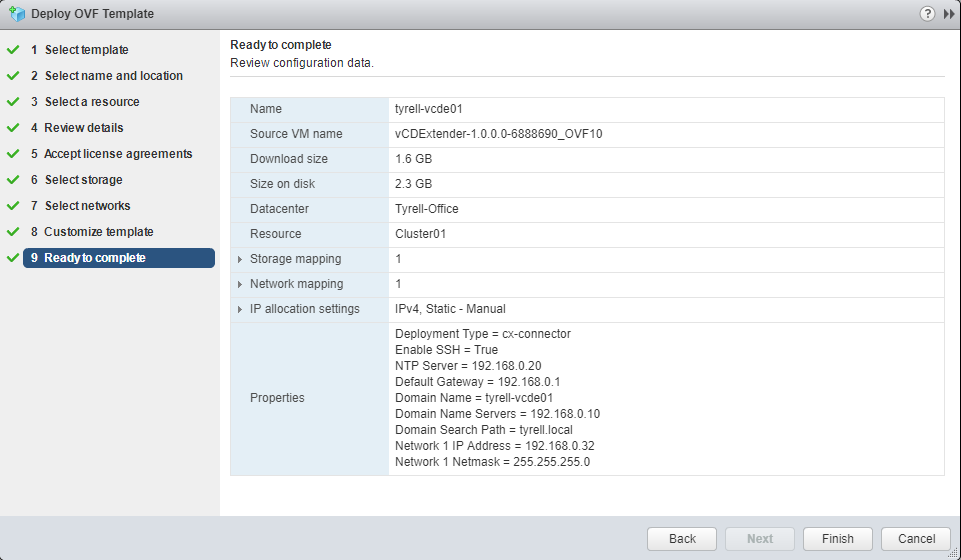
Make sure that 'cx-connector' (default) is selected for the 'Deployment Type' and fill out the IP addressing information for the appliance:
Check the summary information carefully and click 'Finish' to begin the deployment operation:
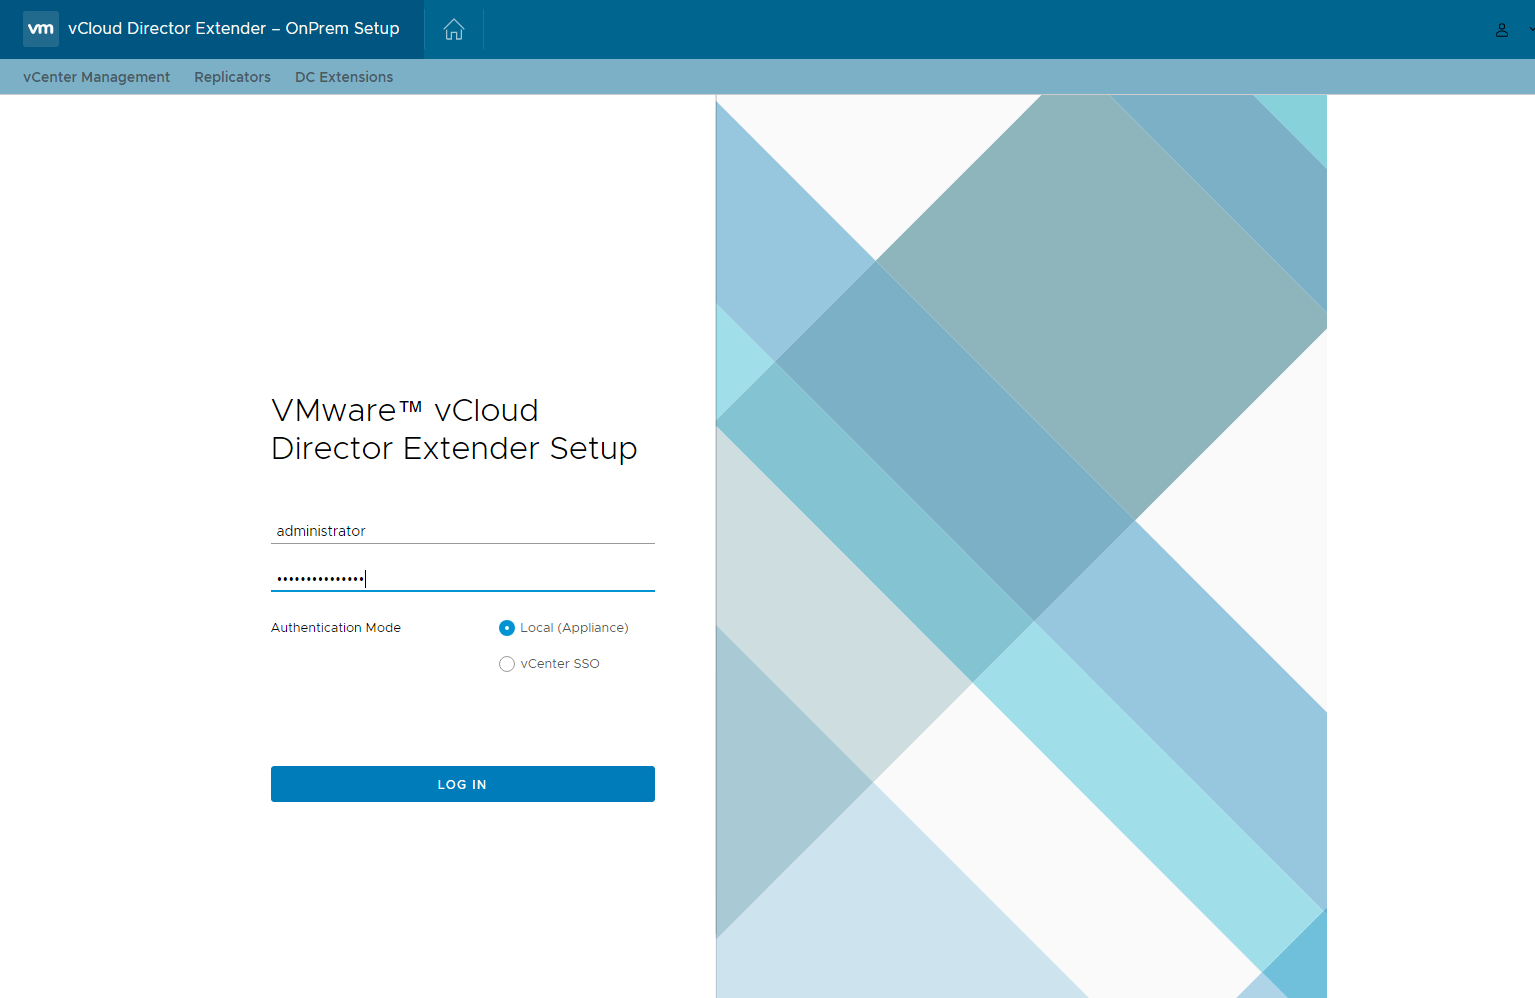
Once the appliance deployment task has configured, power-on the deployed VM in vCenter and wait for it to initialise. When it is running you can open a web browser to the IP address you configured for the appliance and login using the password configured. Note that you have to add '/ui/mgmt' to the login URL for the appliance, so the full URL will be 'https://
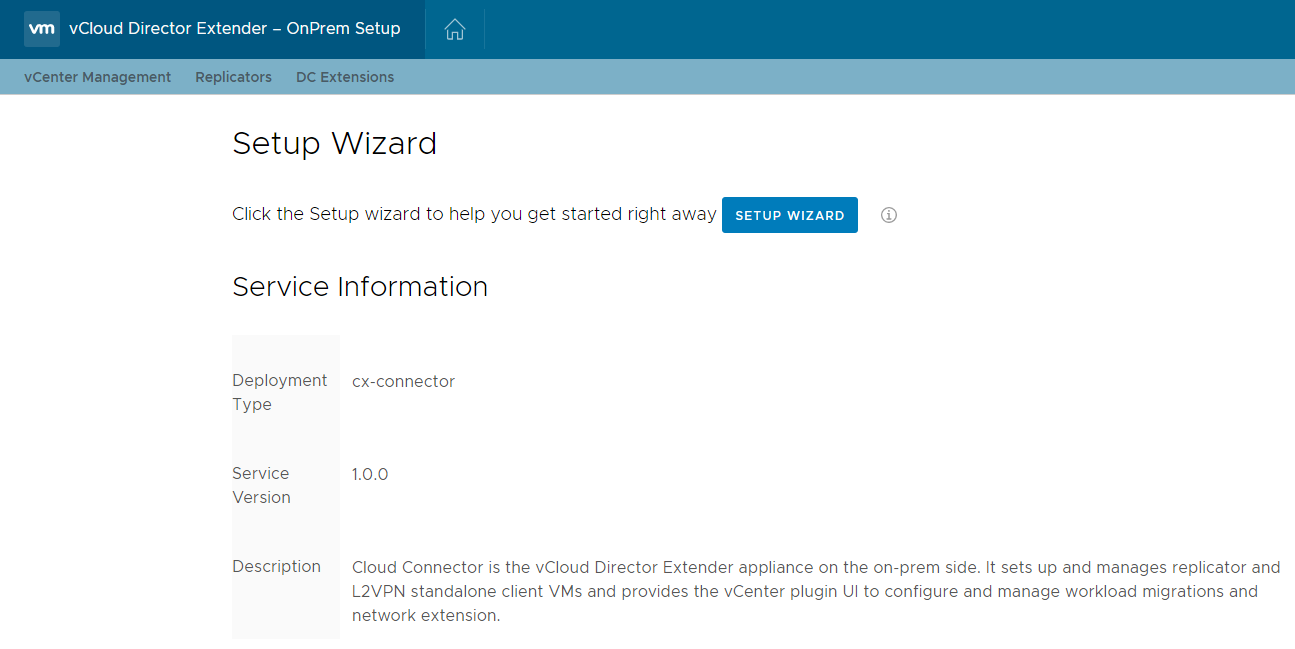
The initial CX dialog when logged in allows you to start the Setup Wizard, note that in contrast to the Service Provider UI, there is no 'Replication Managers' tab in the cx-connector configuration:
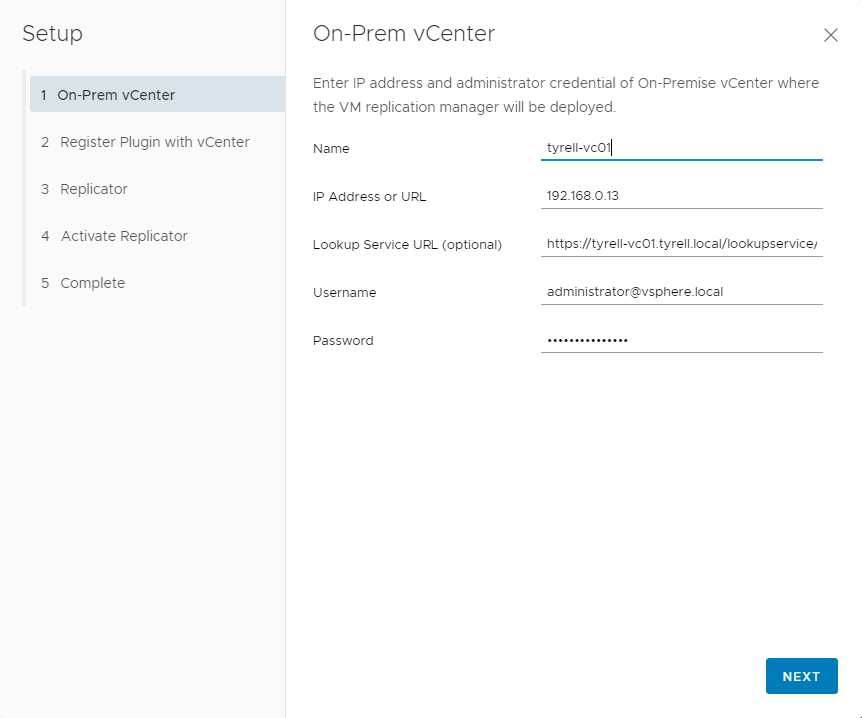
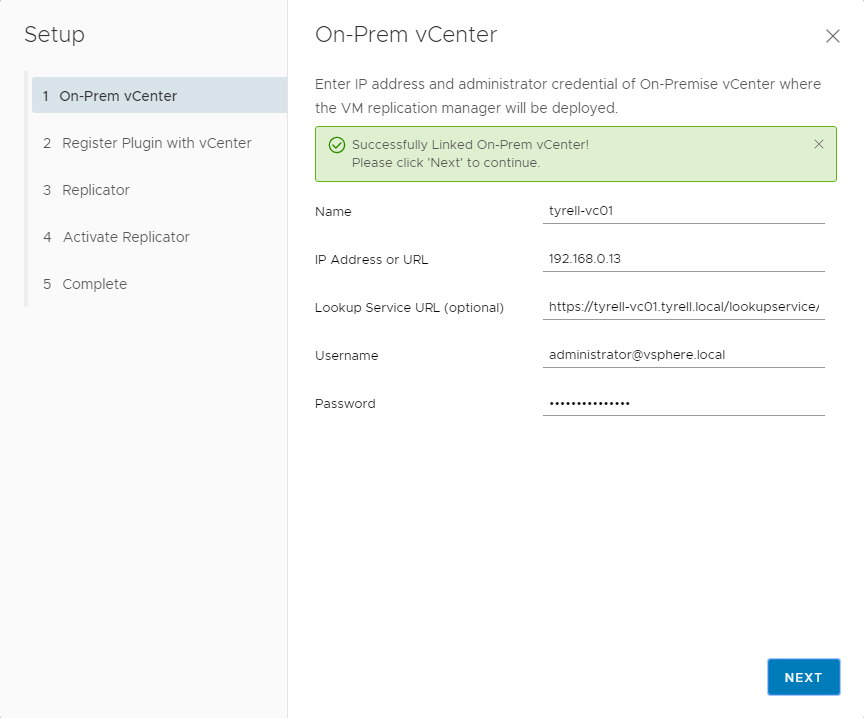
The first step of the wizard is to link to the existing on-premise vCenter environment, note that if you are using an external Platform Services Controller (PSC) you will need to specify the PSC URL for the Lookup Service URL (although this is optional). The user specified needs to have administrative permissions within the vCenter environment:
Once the vCenter details and credentials are accepted, CX will provide a success notification, click 'Next' to continue:
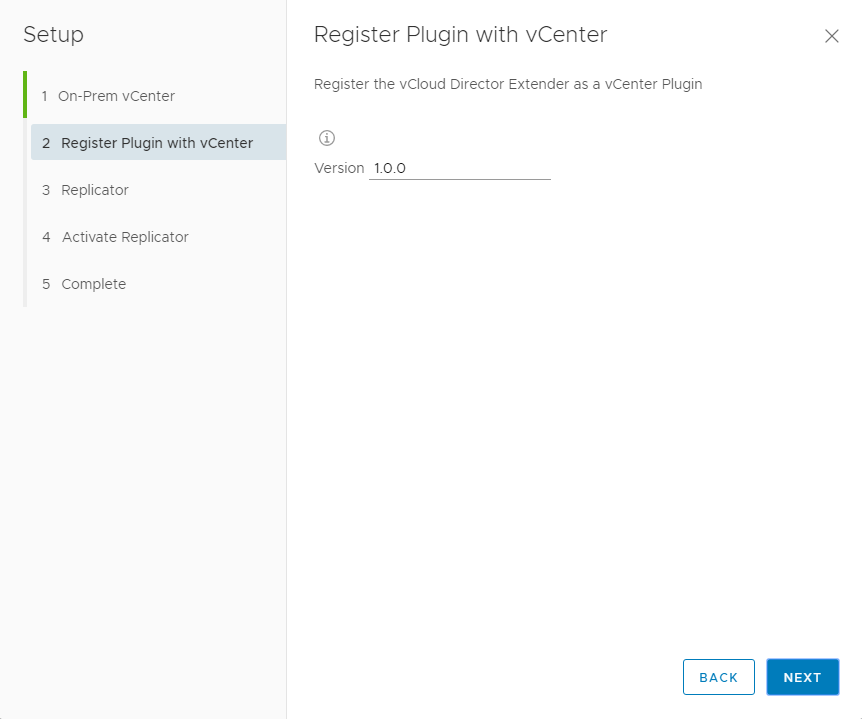
The next page asks you to register the CX plugin with vCenter, this will likely become important in future as CX is updated, but for now leave the Version as 1.0.0 and click 'Next':
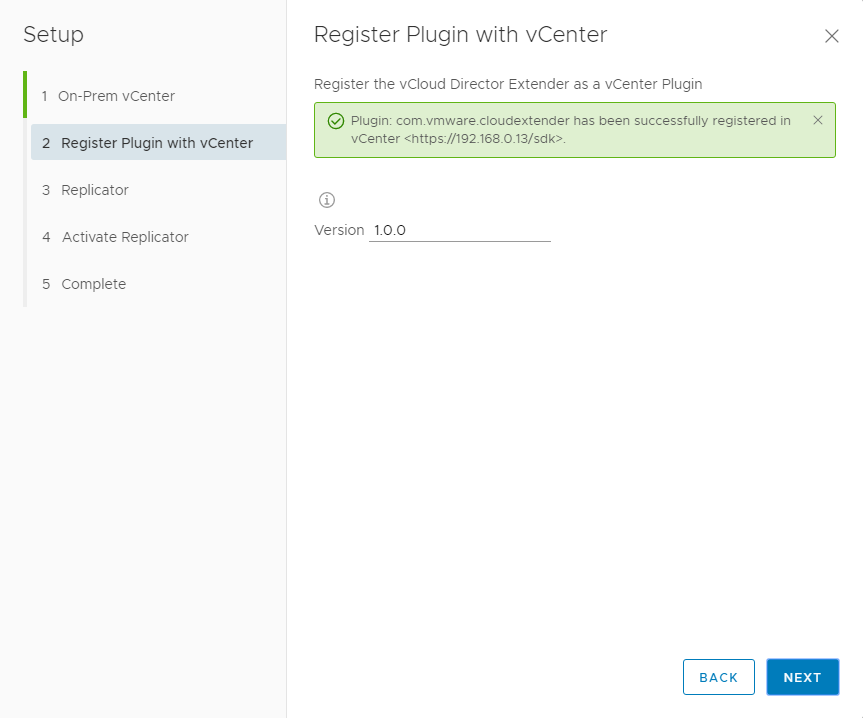
Once the plugin has registered into vCenter you will see a success notification. In testing I found that if the CX plugin had previously been registered with the vCenter (and not manually removed), this step would generate an error notification, but it was still possible to continue with the wizard and everything appeared to function fine afterwards:
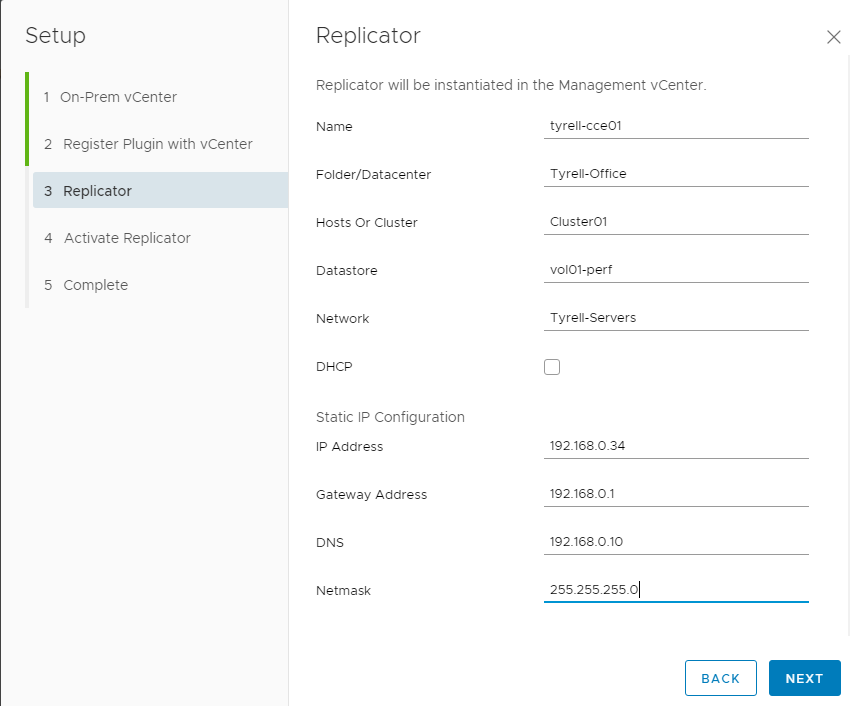
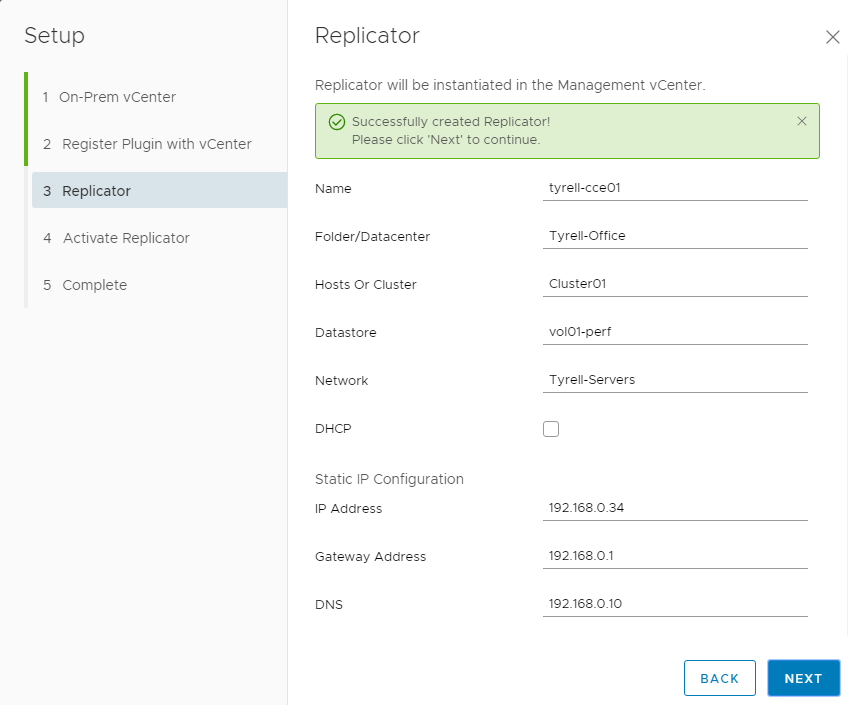
Next you need to provide the configuration for the 'Replicator' appliance that will be deployed into the on-premise vCenter. The VMware documentation advises not to use DHCP for this and to manually specify a static IP configuration:
The 'Replicator' appliance is now deployed into vCenter and powered on. Once it has established network communication with the CX environment you will see a success notification:
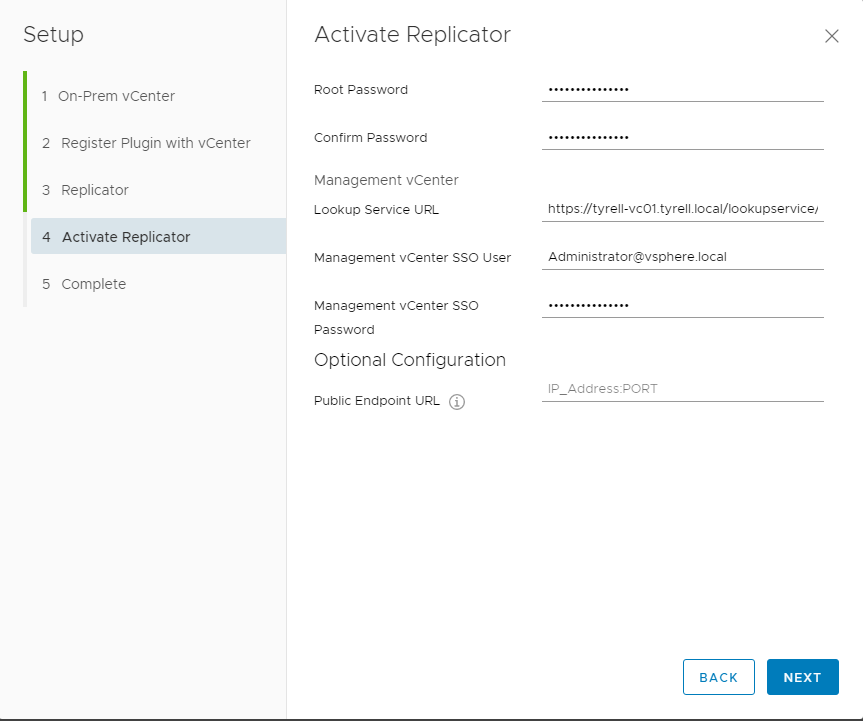
The next step is to activate the Replicator appliance by providing a root password and authentication details for the on-premise vCenter environment. Note that you will need to set the Public Endpoint URL correctly in order for the appliance to be reachable by your cloud provider. If the on-premise Replicator appliance is behind a corporate firewall (as most will be), you will need to configure inbound firewall and translation rules and make sure this field is set correctly.
In my lab setup I configured the replicator public URL to be on port 443 on the public (Internet) address of the outside of the Tyrell firewall and used NAT port translation (see the networking configuration information below).
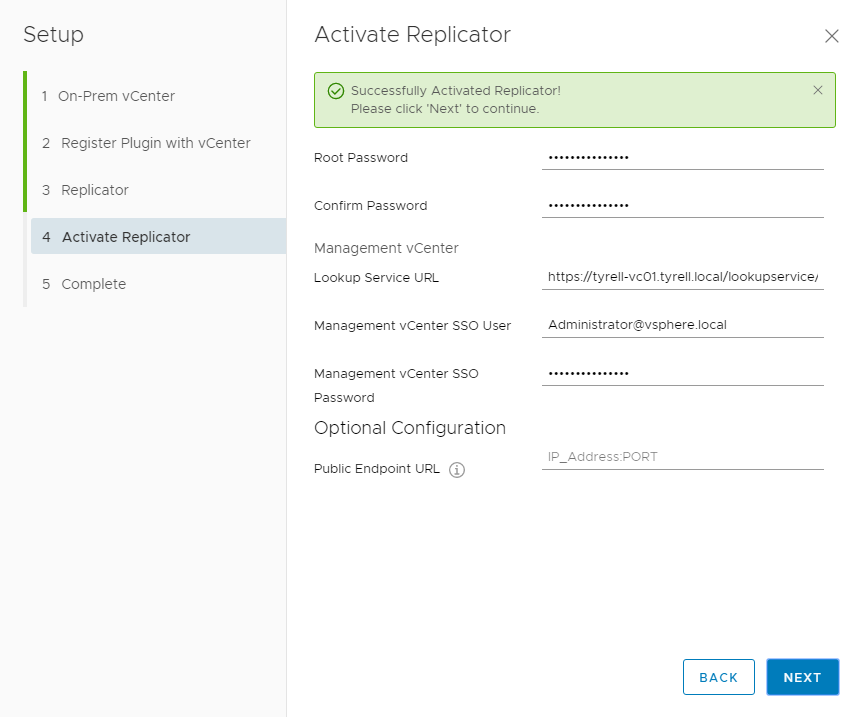
If everything is accepted you'll receive a success notification in the wizard (note that I blanked the Public Endpoint URL field in this capture which is why it doesn't show in the grab below):
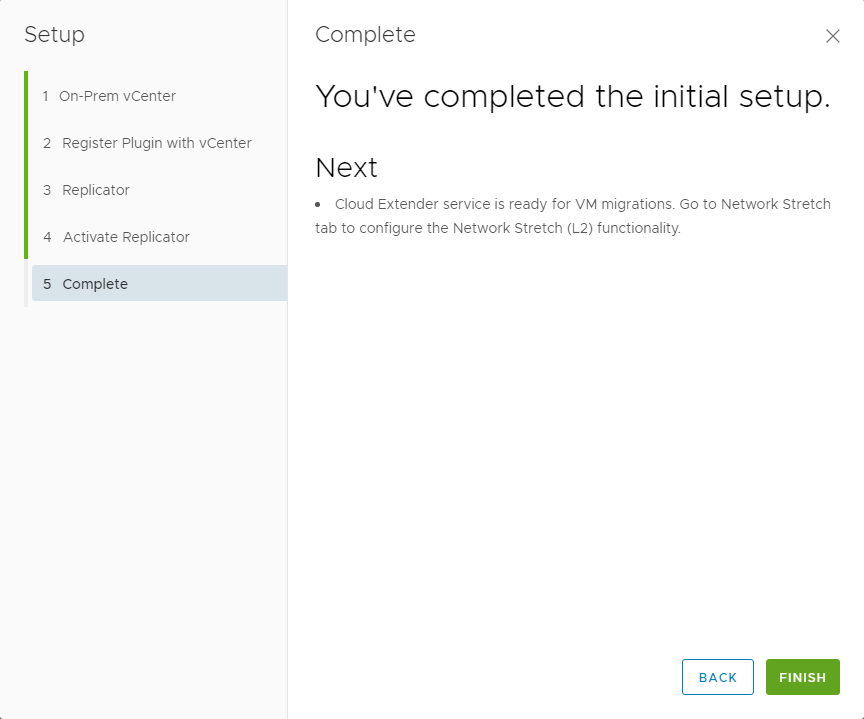
The wizard is now complete, click 'Finish' to return to the UX interface:
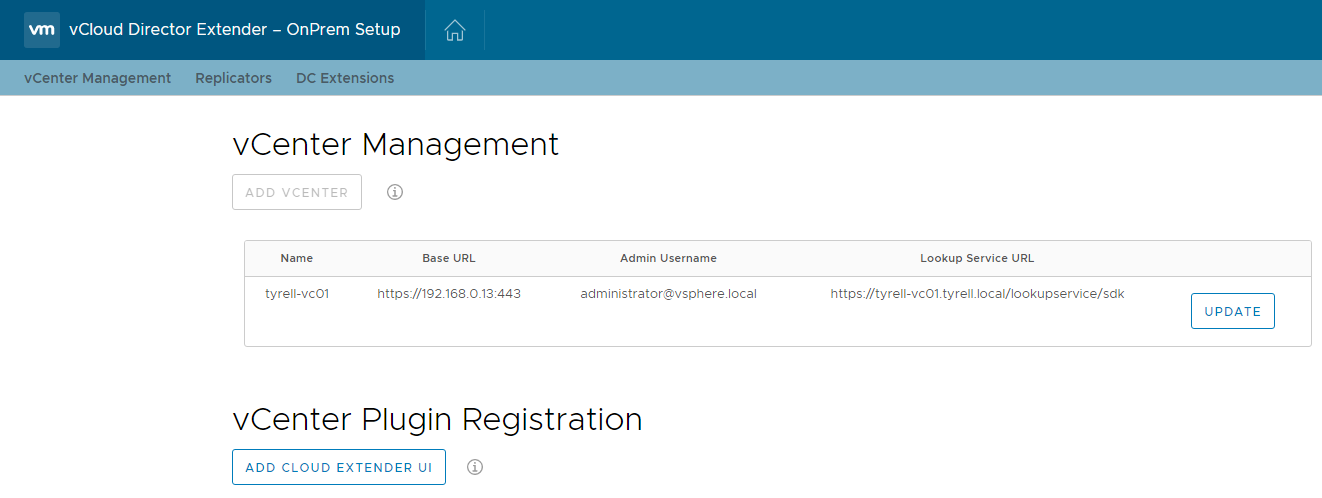
The 'vCenter Management' tab should now show the on-premise vCenter details
The 'Replicators' tab should show the details for the replicator appliance deployed in the wizard:

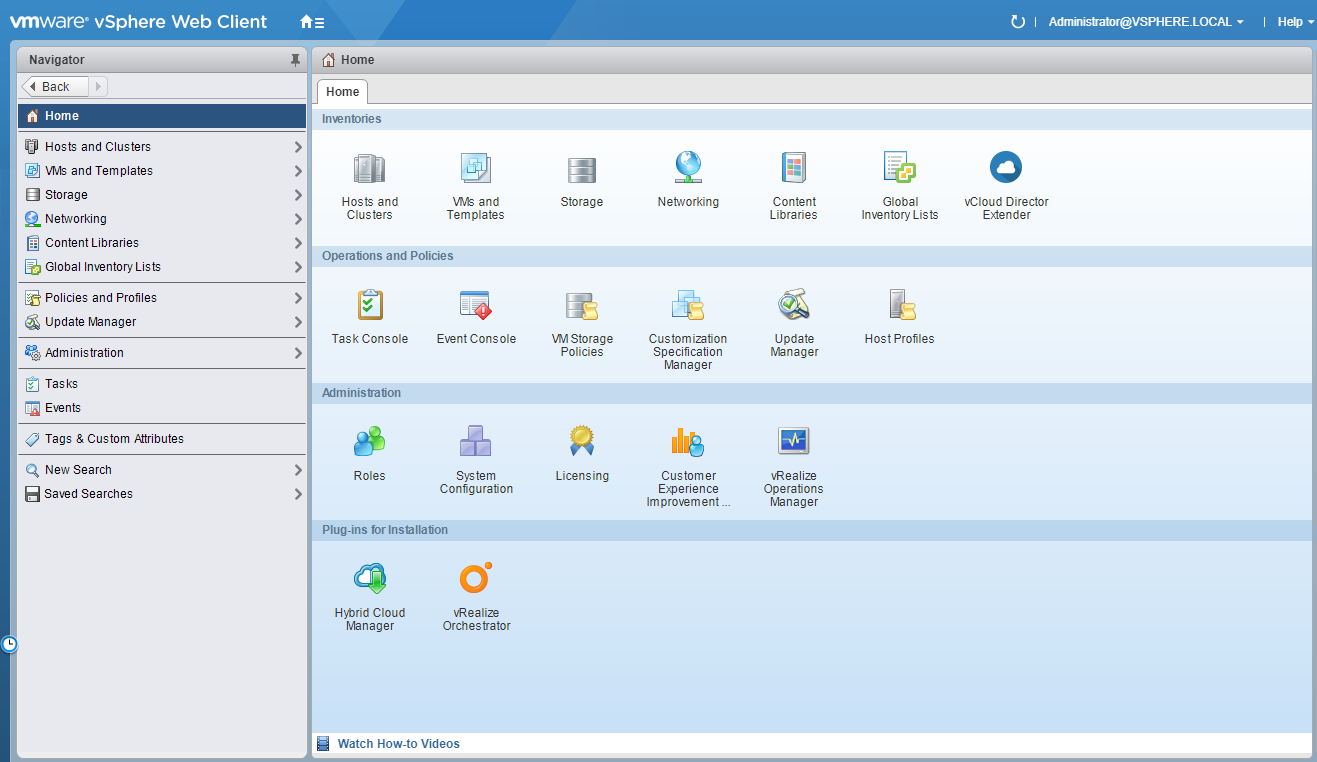
Once vCenter has been closed and restarted you should now see a new 'vCloud Director Extender' item in the UI:
The networking configuration for a customer environment is a little simpler than for the cloud provider side, you will need to permit 2 inbound ports through the firewall, both of which need to communicate directly with the 'Replicator' appliance.
Assuming that you configured the 'Public Endpoint URL' with port 443, you will need to use NAT translation to divert this to port 8043 on the appliance:
| Source Address | Destination | Destination Port/Protocol | Translated Port/Protocol | Translated Internal Address |
|---|---|---|---|---|
| External (Internet) | Public IP Address | 443/tcp | 8043/tcp | Replicator appliance internal address |
| External (Internet) | Public IP Address | 44045/tcp | 44045/tcp | Replication appliance internal address |
You can (and should) limit the public/external addresses permitted to communicate with your Replicator appliance to just those public IP addresses used by your Cloud Provider - they should be able to provide you with this information.
Also note that if you restrict outbound internet traffic from your CX network you will also need to permit the following traffic in an Outbound direction:
| Source | Destination | Source Port/Protocol | Destination Port/Protocol | Description |
|---|---|---|---|---|
| CX Server Network | Cloud Provider Public CX Address | Any | 443/tcp | Required for communications with the provider CX appliance |
| CX Server Network | Cloud Provider Public CX Address | Any | 8044/tcp | Required for communications with the provider Replication Manager appliance |
| CX Server Network | Cloud Provider Public CX Address | Any | 44045/tcp | Required for communications with the provider Replicator appliance |
Of course if your provider has configured different ports for these components you will need to allow access to these instead of the defaults listed.
In the next part of this series I'll continue with configuring the customer environment to connect to a cloud provider CX environment and to migrate some VMs.
Link back to Part 2 || Link to Part 4
As always, corrections, comments and feedback are always appreciated.
Jon.